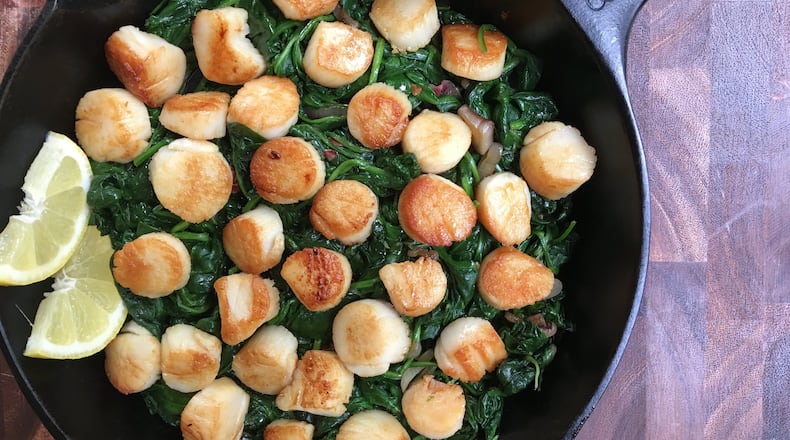
A doctor suggested that my lovely friend Carolyn could improve her mild anemia by eating food cooked in cast iron. I have a vested interest in Carolyn’s health. Her daughter and my son are in school together, and without Carolyn, I never know if my son has a math test, or a girlfriend. So I gave her one of my 12-inch skillets, seasoned with love and grapeseed oil, and she has not used it. Not even once.
And she’s not alone. My unscientific survey of cast iron-avoiders revealed swimsuit-shopping level anxiety about using and cleaning their grandmother’s/auntie’s/favorite food columnist’s pan. But not only does cast iron fortify your food, it’s also the most reliable cookware on the planet. So friends, let’s work through any cast-iron issues you may have by cooking the quintessential cast-iron recipe, scallops.
First, pick up a pound of either bay or sea scallops. Bay scallops are fun-sized, sweet and buttery tasting. Sea scallops are the larger, beefier bivalves, frequently observed in their native habitat: a white-linen restaurant. In spite of the size difference, the cooking technique is the same. So purchase the freshest scallops you can find, being sure to choose those labeled dry-packed. Avoid wet-packed or soaked scallops. These poor mollusks have been treated with phosphate preservatives so that they absorb water, which is a cheaty thing to do with food that's sold by weight. And all of that water means wet scallops can't form a beautifully seared edge, because cheaters never win.
Now look at your skillet. Is it deeply glossy, like your kitchen’s crown jewel? If so, it’s seasoned and ready to work. If it’s dry, a little TLC is in order. You can ask chef Google how to season your skillet, or just fry a pound of bacon in it and call it a day. The goal is to fill your skillet’s pores with oil (a reverse facial!) to create a naturally nonstick cooking surface.
Get your skillet good and hot. Your cast-iron pan distributes heat evenly, which is why it works beautifully with our swift-cooking shellfish. Skip the butter, because those milk solids will scorch. Also skip the olive oil. Olive oil smokes at a lower temperature, so your scallops will take longer to cook, which is a recipe for both tough scallops and a grumpy smoke detector. Instead, heat up a tablespoon of heart-happy grapeseed oil until it shimmers and just starts to smoke. Use long-handled tongs to gently plop your scallops in the hot oil. Give those beauties plenty of room to breathe; overcrowding traps moisture, which, we know from the dry scallop/wet scallop lesson, inhibits browning.
Now pay attention, folks, this is the important part: Once the scallop is placed, do not move it, or lift an edge to see if the bottom is cooked. Scallops are not Christmas presents; there are real consequences to peeking. If you break the connection between the scallop and the skillet, you’ll lose the ability to caramelize that side. So how do you know when your scallops are ready to flip? Simply set a timer for 2 minutes. And I mean exactly 120 seconds, not the two-minute warning you give your child 30 minutes before you leave.
The second side’s cook time will vary according to your scallops’ size. I gave my little bay scallops a kiss of heat. Large sea scallops can require up to two minutes. You’re not seeking a fully caramelized edge this time, only enough gentle browning that the surface isn’t raw. And just like that, you have an elegant, low-calorie, protein-packed meal that’s ready in less than 10 minutes.
Once the pan has cooled, give it a quick rinse (no soap!) and dry it with a towel. Return it to the still-warm burner so any little droplets evaporate. Swipe it with a dab of vegetable oil on a paper towel, and you and your new best friend are ready for your next healthy cooking adventure.
About the Author

