How to take a good photo from the Jackson Street Bridge
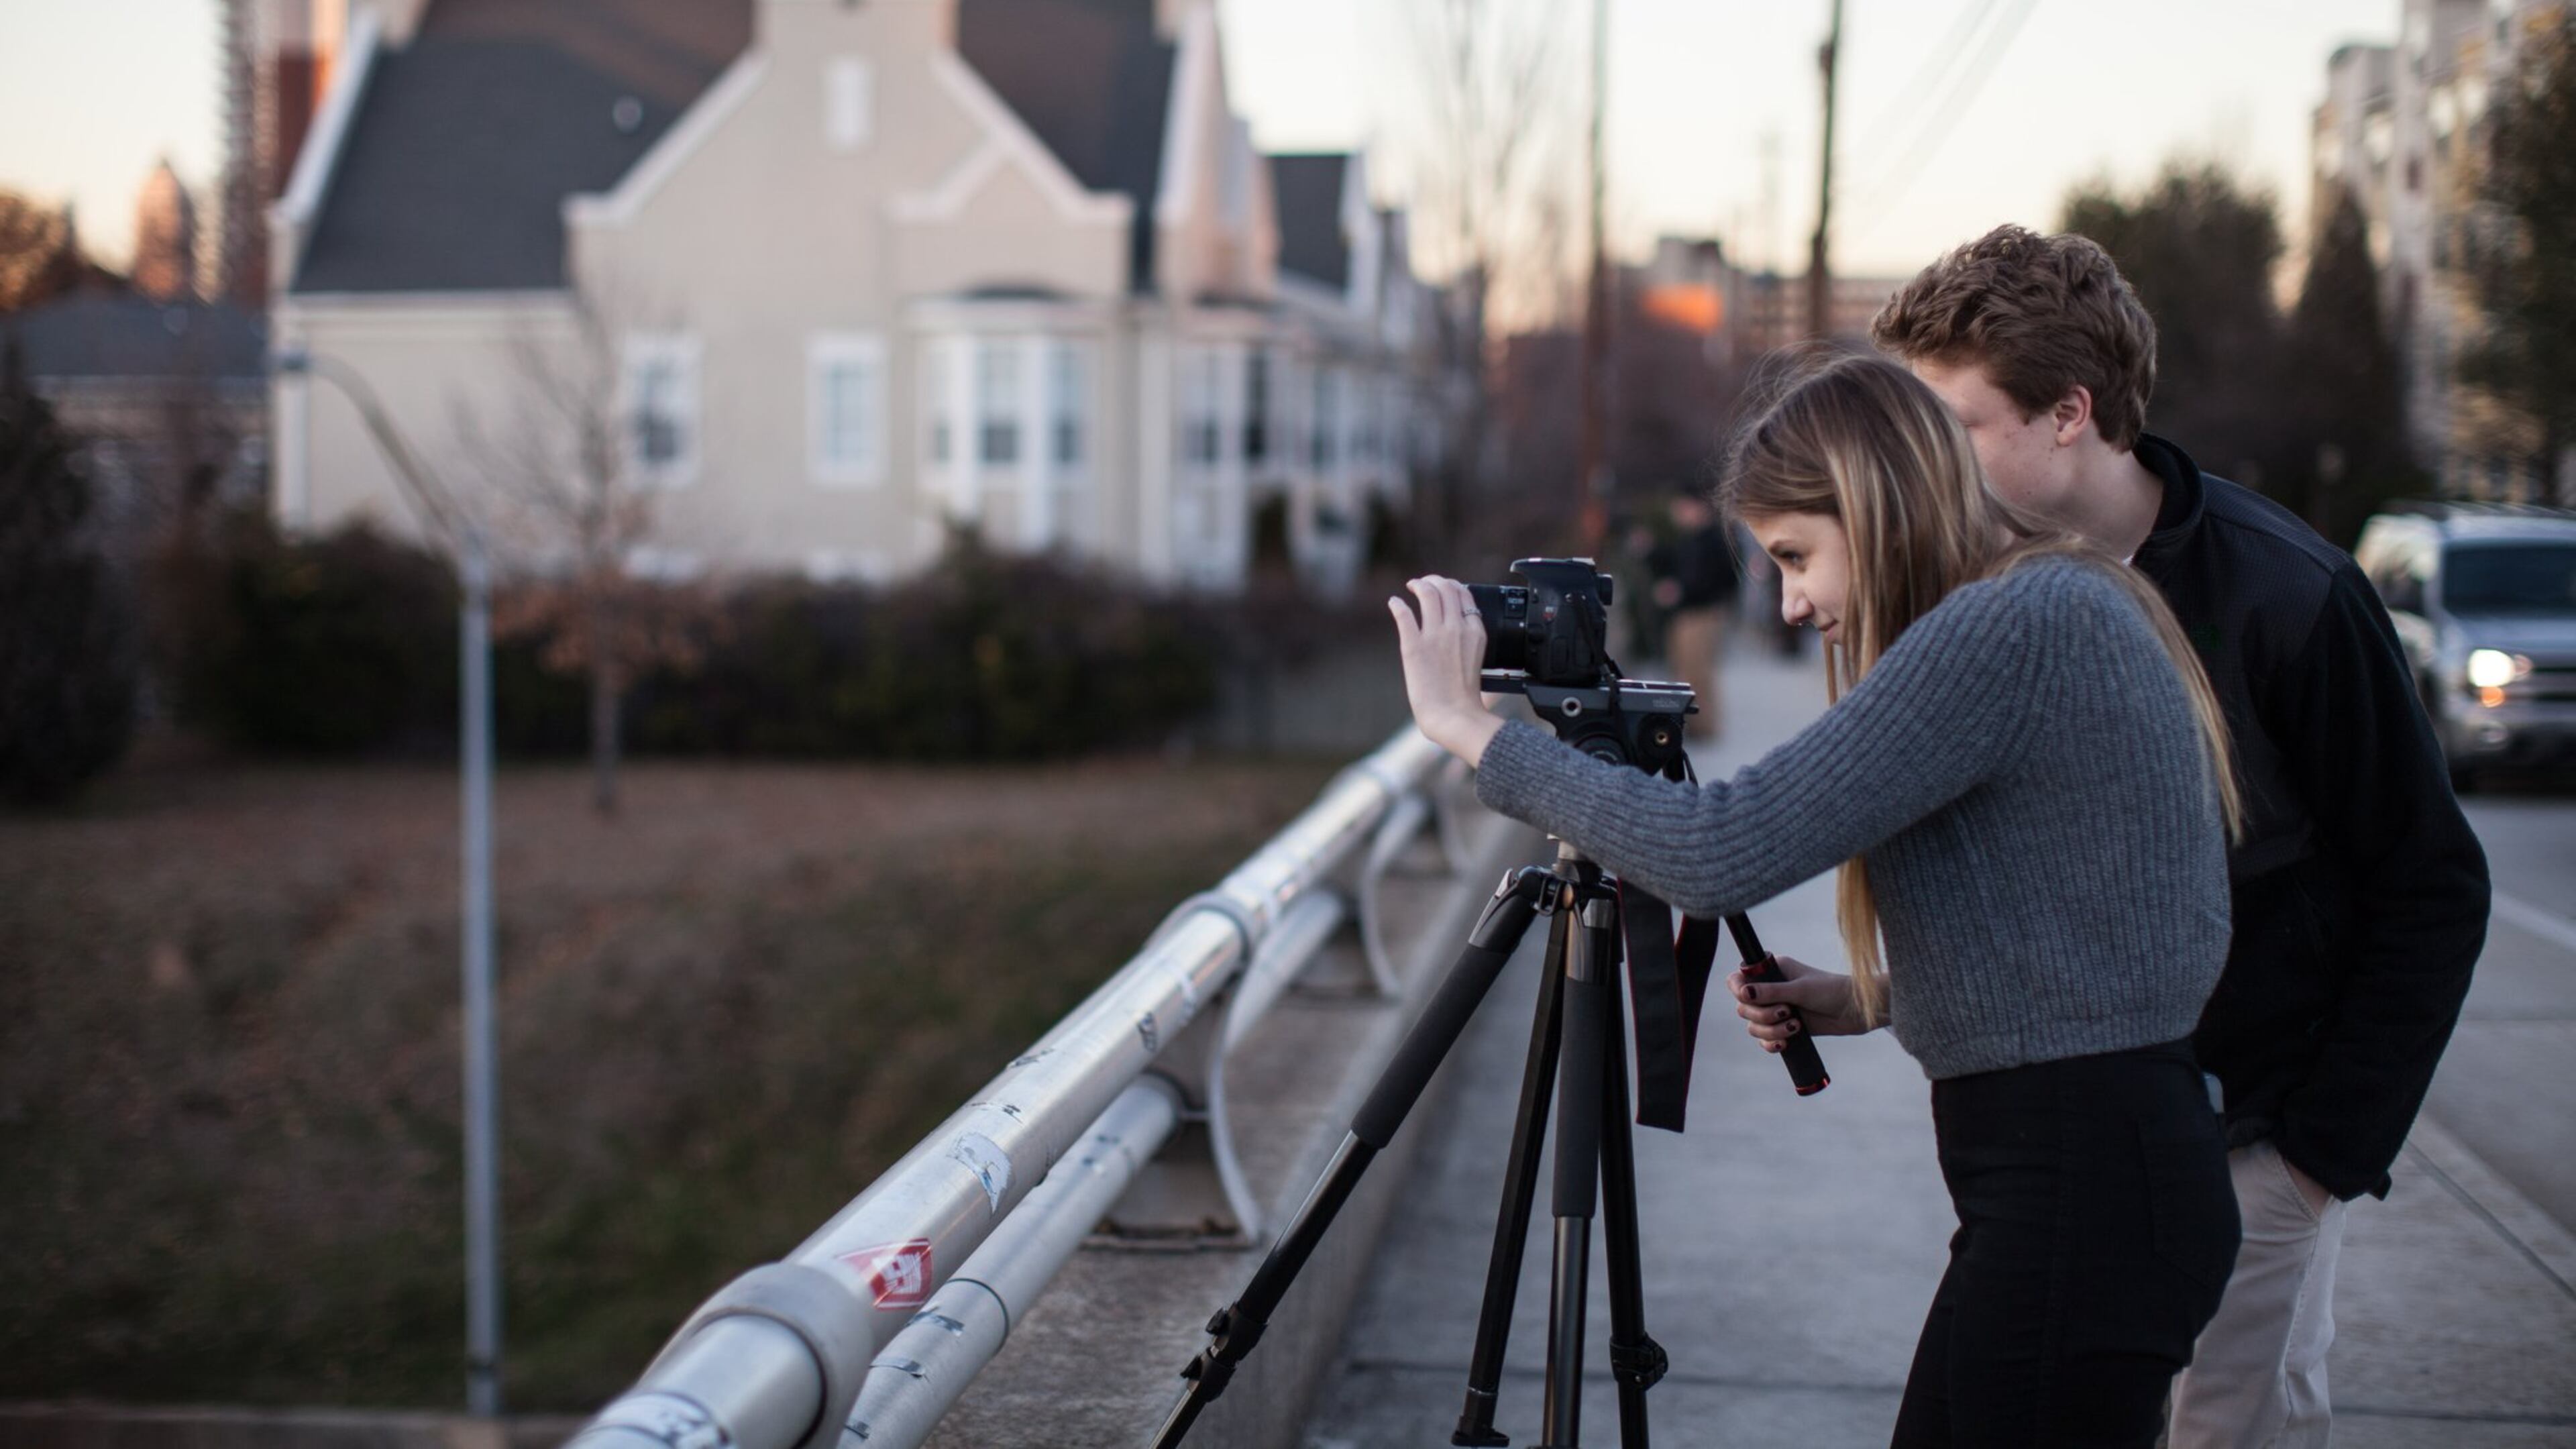
Want to make the most of your visit to the Jackson Street Bridge? Here are some tips by Instagrammer Lauren Holley (@graphiknation) and AJC photographer Ben Gray (@PhotoBGray). Read our full story of the Jackson Street Bridge phenomenon here.
Getting there: There is some street parking in the blocks near the bridge. Arrive early – on some nights the sunset attracts a crowd.
Safety first: The bridge has a low rail and there's no fence, so don't drop anything. Keep in mind that there's traffic right behind you and that pedestrians will need room to get by.
RELATED: Best places to take pictures of Atlanta's skyline
Tips for shooting outdoors:
- Sunrise & sunset: The hour after sunrise and the hour before sunset are the softest and warmest light of the day.
- Daytime: On clear days sunlight is very direct and harsh. Partly cloudy days with some fluffy, shady clouds against blue skies are perfect for daytime shots.
- Cloudy conditions: On overcast or foggy days, try photographing in black & white.
- Rainwater makes for excellent images by adding shine, texture, movement & reflection! Just keep your camera covered and protected.
Ideas for shots: The most dramatic sunsets often happen when a storm rolls through right before the sun goes down. Arrive early to experiment with different locations on the bridge. Think about ways to make your shot unique, maybe focusing on something in the foreground, such as a prop.
Setting up your shot: You'll want a tripod for nighttime photography, including long-exposure shots with light trails. High traffic times yield better results (no cars equals no light trails). There is a row of lights down the middle of the freeway, so think about how you would incorporate them in your composition.
- Don't have a tripod? Use a table, counter or other surface if you can. If you choose to shoot handheld at night, use a higher ISO setting and a wider aperture to increase the shutter speed and reduce blur due to camera motion.
Camera phone tips:
- Slightly underexposing your photo will make the colors more saturated. If you're shooting with an iPhone, you can do this by tapping and holding on the screen until it locks the exposure, then swiping down to decrease the exposure.
- Using the HDR (high dynamic range) mode or an HDR app may allow you to capture detail in the highlights and shadows of your photo.
- Be very still and use both hands to steady your grip, so your image won't be blurry.
- Shoot in manual mode if you're experienced and know how, or watch some YouTube videos to learn.
- Accessories like different lenses and mini tripods are inexpensive and fun. Fisheye, macro & zoom lens kits are widely available online.
SLR camera tips:
- Always shoot in RAW for maximum image quality and full control in post editing/processing.
- Use a tripod.
- Expose for the highlights, and lighten the dark/shadow areas in post processing.
- Always shoot in manual mode. (Low ISO, with a small aperture [f11 - f22] and keep the shutter open for 10, 15, 30 seconds or even longer if you're looking to blur traffic.)
- Use the 2 second timer feature or a remote control, so you don't cause "shake/blur" when touching the shutter button.
- For those with advanced editing skills, try taking 2 images from a tripod, and blending those in Photoshop to achieve an HDR effect. Without moving or changing the focal point in between shots, take one at the most brilliant sunset & cloudscape, and then another shot once the city/building lights come on. You will get the best of both worlds, with a killer sky/sunset and all the illumination from the city lights, which usually don't come on until after dark.
Other ideas:
- Try incorporating props, and/or models, or focusing on something in the foreground.
- When sitting at the Freedom Parkway light, try getting a shot through your rearview mirror.
- Some photographers return to the bridge several times a year to catch the seasons and changes in the light.
About the Author

Pete Corson is a Presentation Specialist for the Digital Storytellers team and works closely with the Enterprise and Investigative teams. He has worked at the AJC since 1998. He enjoys bringing the best of the paper's journalism to life on your digital devices and finding new ways to tell the stories that make Atlanta unique.


