From the archives: The return of the cheese ball
Open your social media feed and you’ll see it littered with food photos using vintage filters, looking like they came straight from a ’70s cookbook. From elaborate cocktail shrimp towers down to pigs in a blanket and grape jelly meatballs in slow cookers, these dishes are returning to our homes and our hearts.
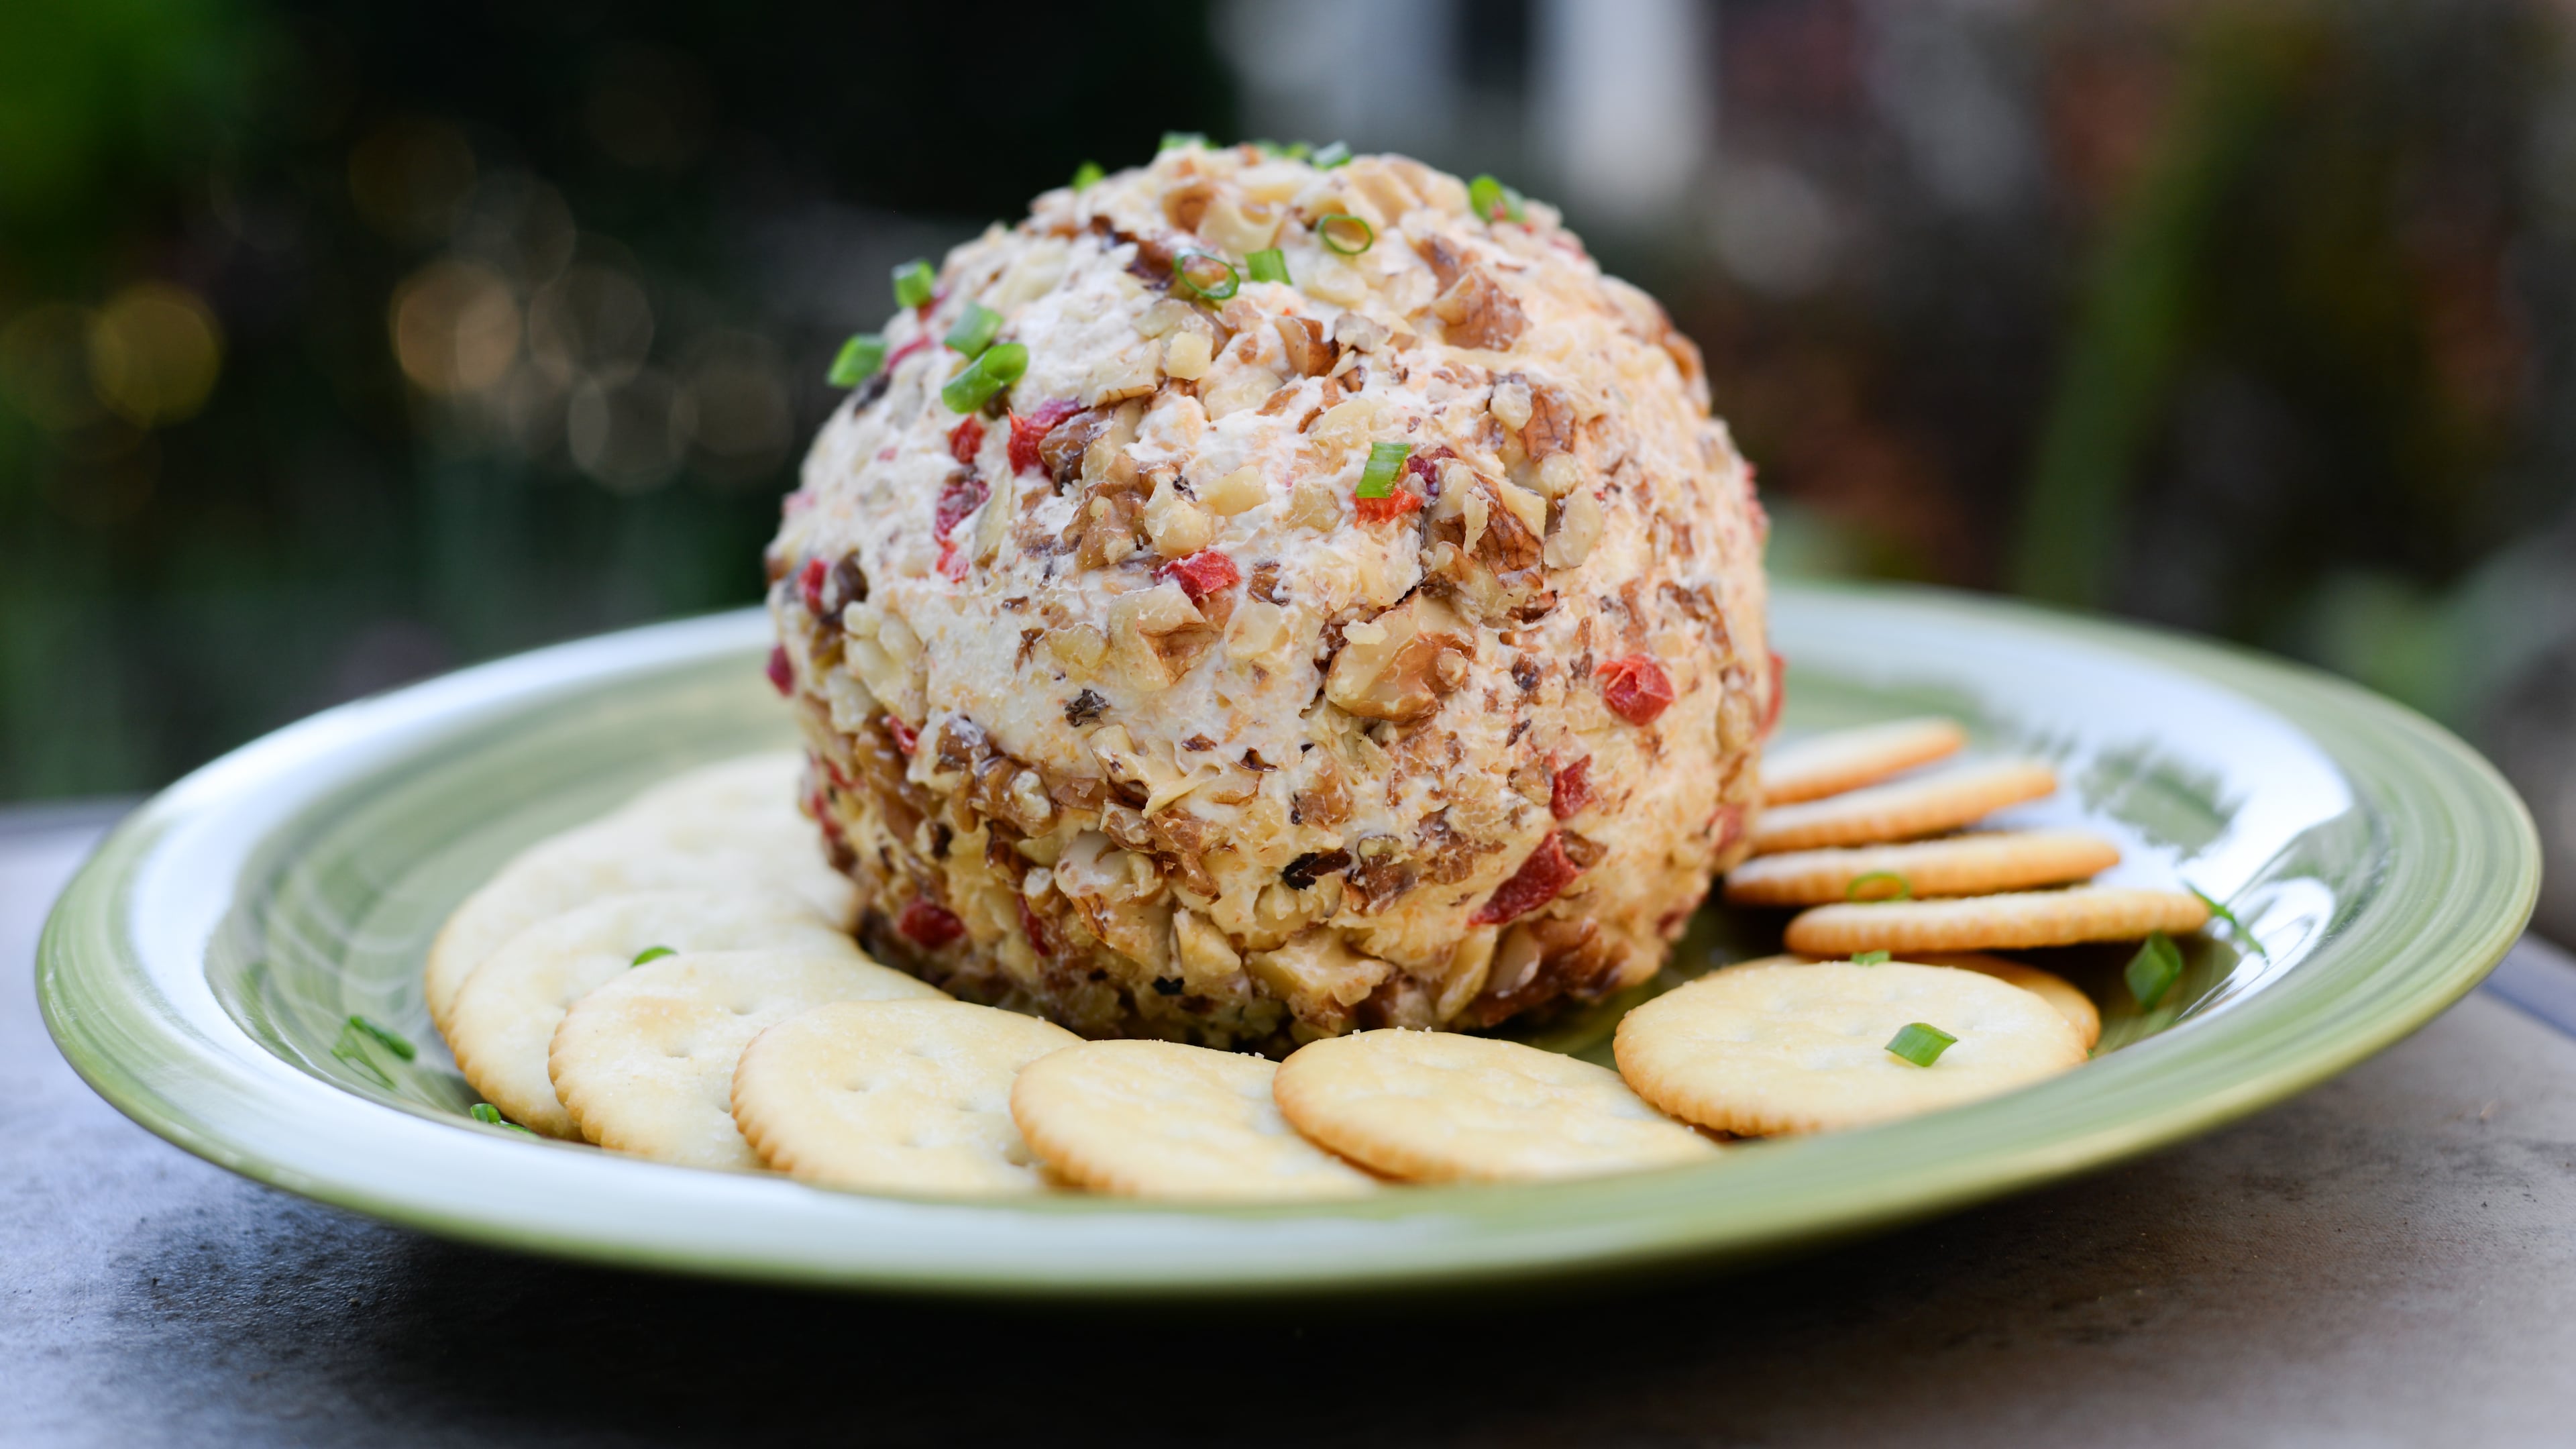
Also making a comeback in its nut-encrusted glory is the cheese ball. Nostalgic adult who were children in the ’70s and ’80s recall the cheese ball’s inexplicable appearance on every holiday or party table, with the unquestionable and tacit consensus that it was a mandatory item.
Easy-cheesy ingredients, swaps and variations
One reason for its popularity was how easy this ball is to make. It’s versatile too. As long as you use 8 ounces of cream cheese as the base, other ingredients can be swapped out to your preference. Funky blue cheese might not be everyone’s thing, so feel free to use feta or a hard, sharp cheese to contrast with the cream cheese.
Leaving the cream cheese on the counter to come to room temperature and soften helps it better incorporate with the other ingredients in mere minutes.
Pimento can be omitted entirely, but it does add a nice pop of color. Then again, chopped bacon bits can also do that. Feel free to swap one for the other, or add a handful of chopped bacon to the recipe.
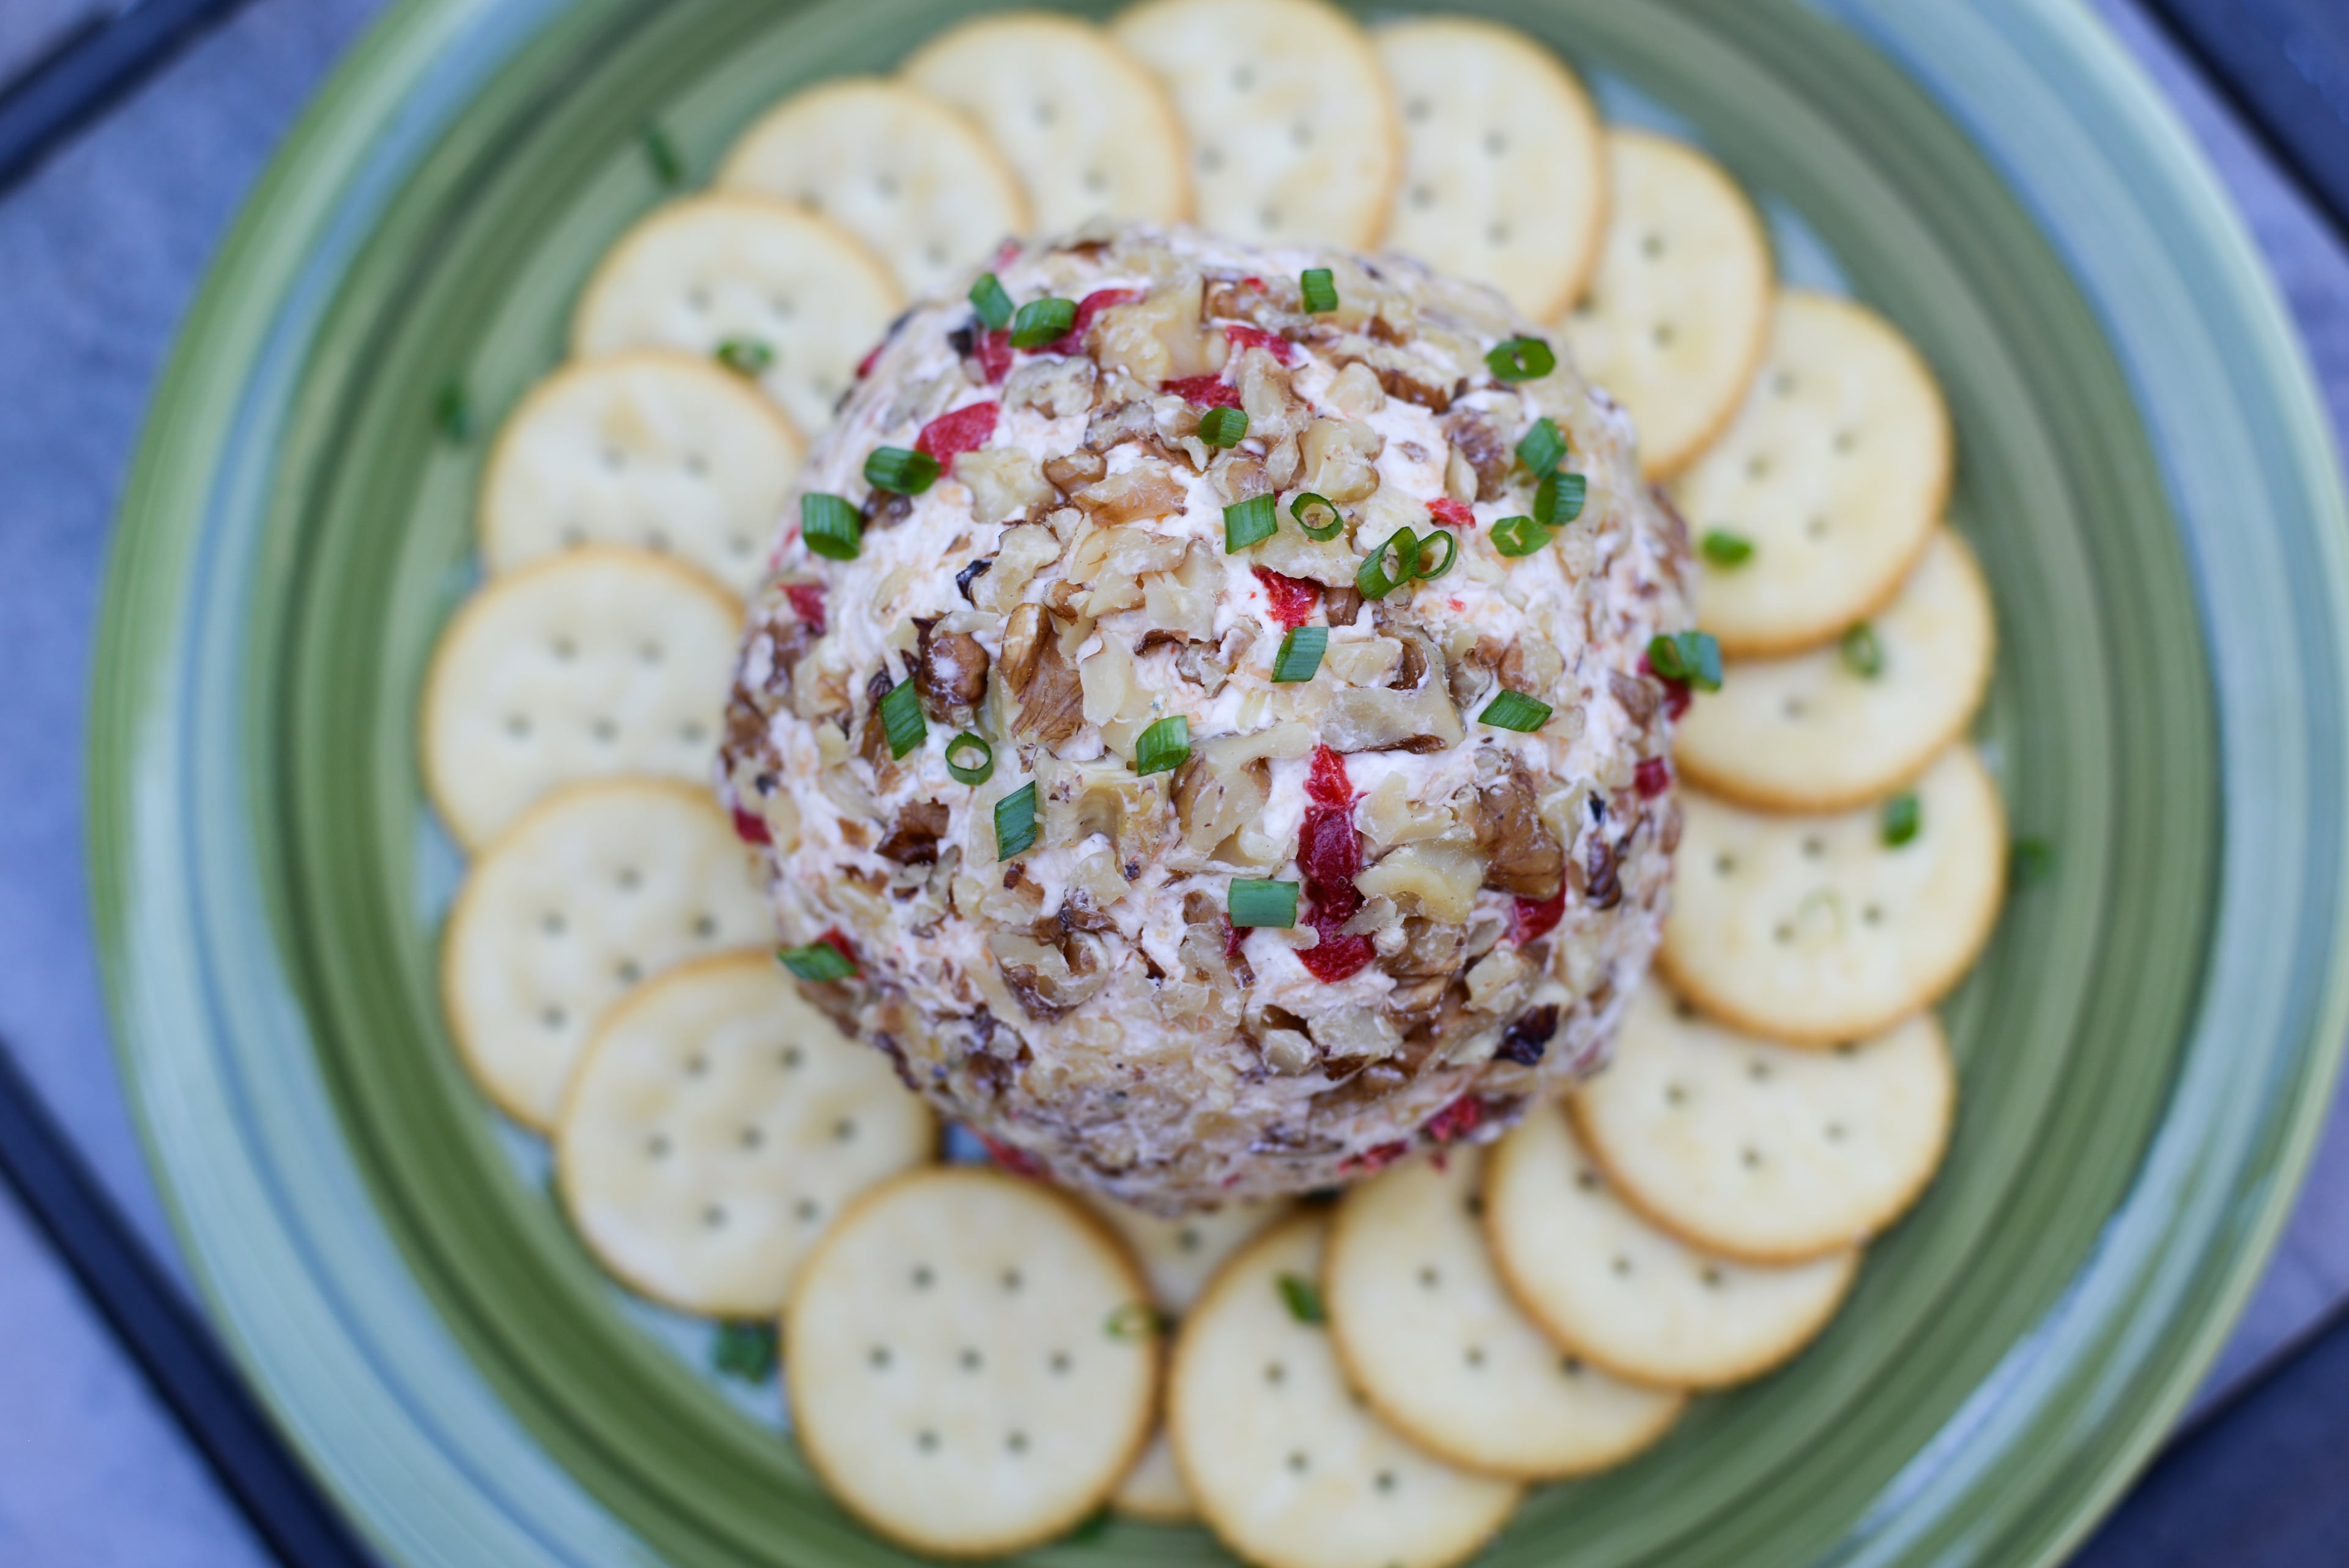
One teaspoon of onion powder can be easily substituted for one grated onion. Walnuts can be swapped with other nuts such as almonds, pistachios or pecans. Be sure to finely chop any nuts you use so they easily stick to the surface of the cheese ball. Add chopped chives for more color and to lighten it up with an herby flavor.
You are the artist, and the cheese ball is your canvas.
While I’ve been able to serve this immediately after forming it into a ball, the longer it sits in the fridge, the better the flavors get. This recipe lets you make it ahead, whether it’s one hour or overnight.
What’s changed since this 1970 recipe
While the original 1970 recipe recommended using a blender, the introduction of home food processors from brands like Cuisinart a few years later made blending thick and chunky ingredients easier. The updated instructions reflect this change.
I also like to keep myself well-stocked with latex-free, food-safe disposable gloves for food prep. To avoid washing a food processor after use, put the gloves on and knead the ingredients together, using the cheese blend as a stress ball. The gloves come in handy at the tail end of the recipe when you need to form the ball, too. Gloves can be found at any large grocery store; just look for the words “food-safe” or anything that describes it as appropriate for food preparation on the packaging.
The original recipe called for chopped ground pepper, which is an unusual description since pepper is either chopped or ground, but not both. Coarse ground pepper worked well in this recipe, and is the most probable match.
What to serve with a cheese ball
Buttery crackers such as Ritz are the standard, but any neutral-flavored crackers that doesn’t compete with the flavors of the cheese can work.
Crudités such as celery, carrot sticks, and/or radish slices also complement the cheese and balance its richness.
Party Cheese Ball
Serves 6 to 8 people
Ingredients:
- 1 (8-ounce) package cream cheese
- 8 ounces grated cheddar cheese
- 5 ounces blue cheese crumbles
- 1/4 teaspoon garlic salt
- 1 tablespoon coarse ground pepper
- 1 tablespoon chopped pimento
- 1 grated onion
- 1 tablespoon Worcestershire sauce
- 1/2 cup chopped walnuts, finely chopped
Instructions:
- Let cream cheese soften at room temperature for 30 minutes.
- Mix cream cheese, cheddar cheese and blue cheese in a bowl with gloved hands or in a food processor until blended. Mix in garlic salt, pepper, pimento, onion and Worcestershire sauce.
- Chill at least one hour, until firm enough to shape into a ball. Roll the ball in walnuts. Wrap in plastic, or place in an airtight container and chill for up to 1 hour or overnight to let the flavors meld before serving.
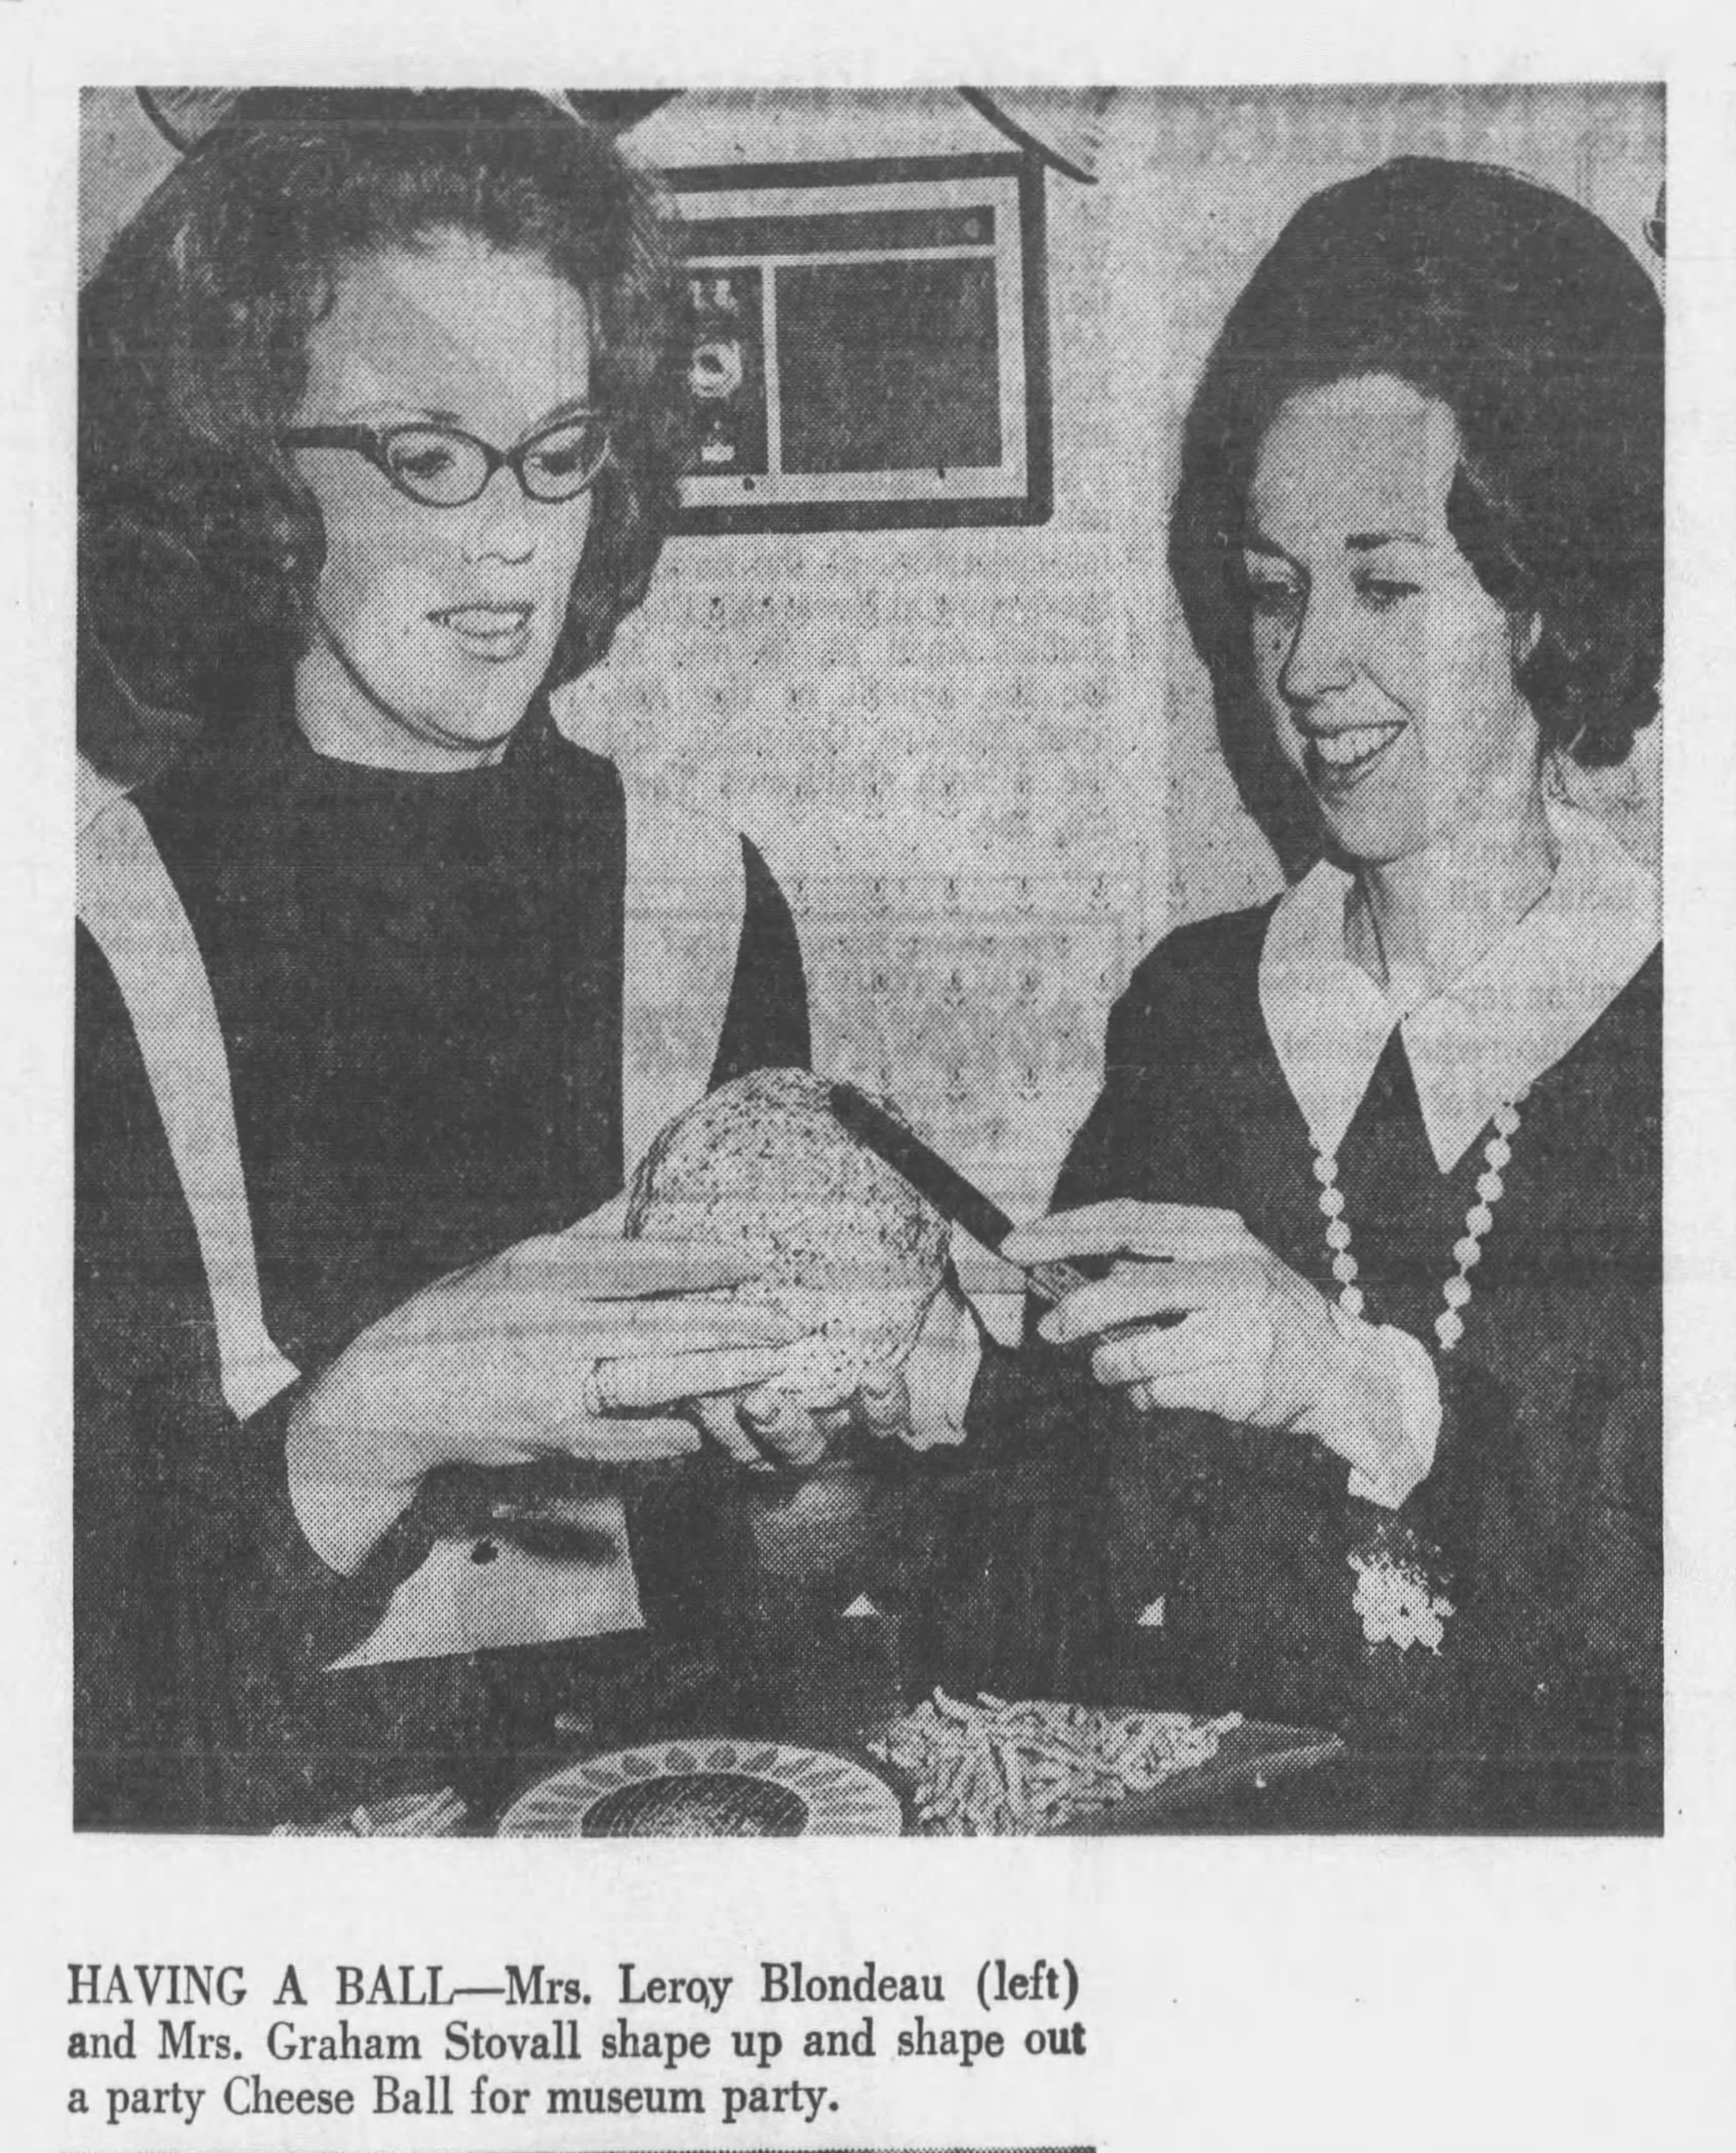
This recipe was adapted from an article by Jean Thwaite originally published in the March 9, 1970, edition of The Atlanta Constitution.