How to make banana pudding better: 7 tips that actually matter
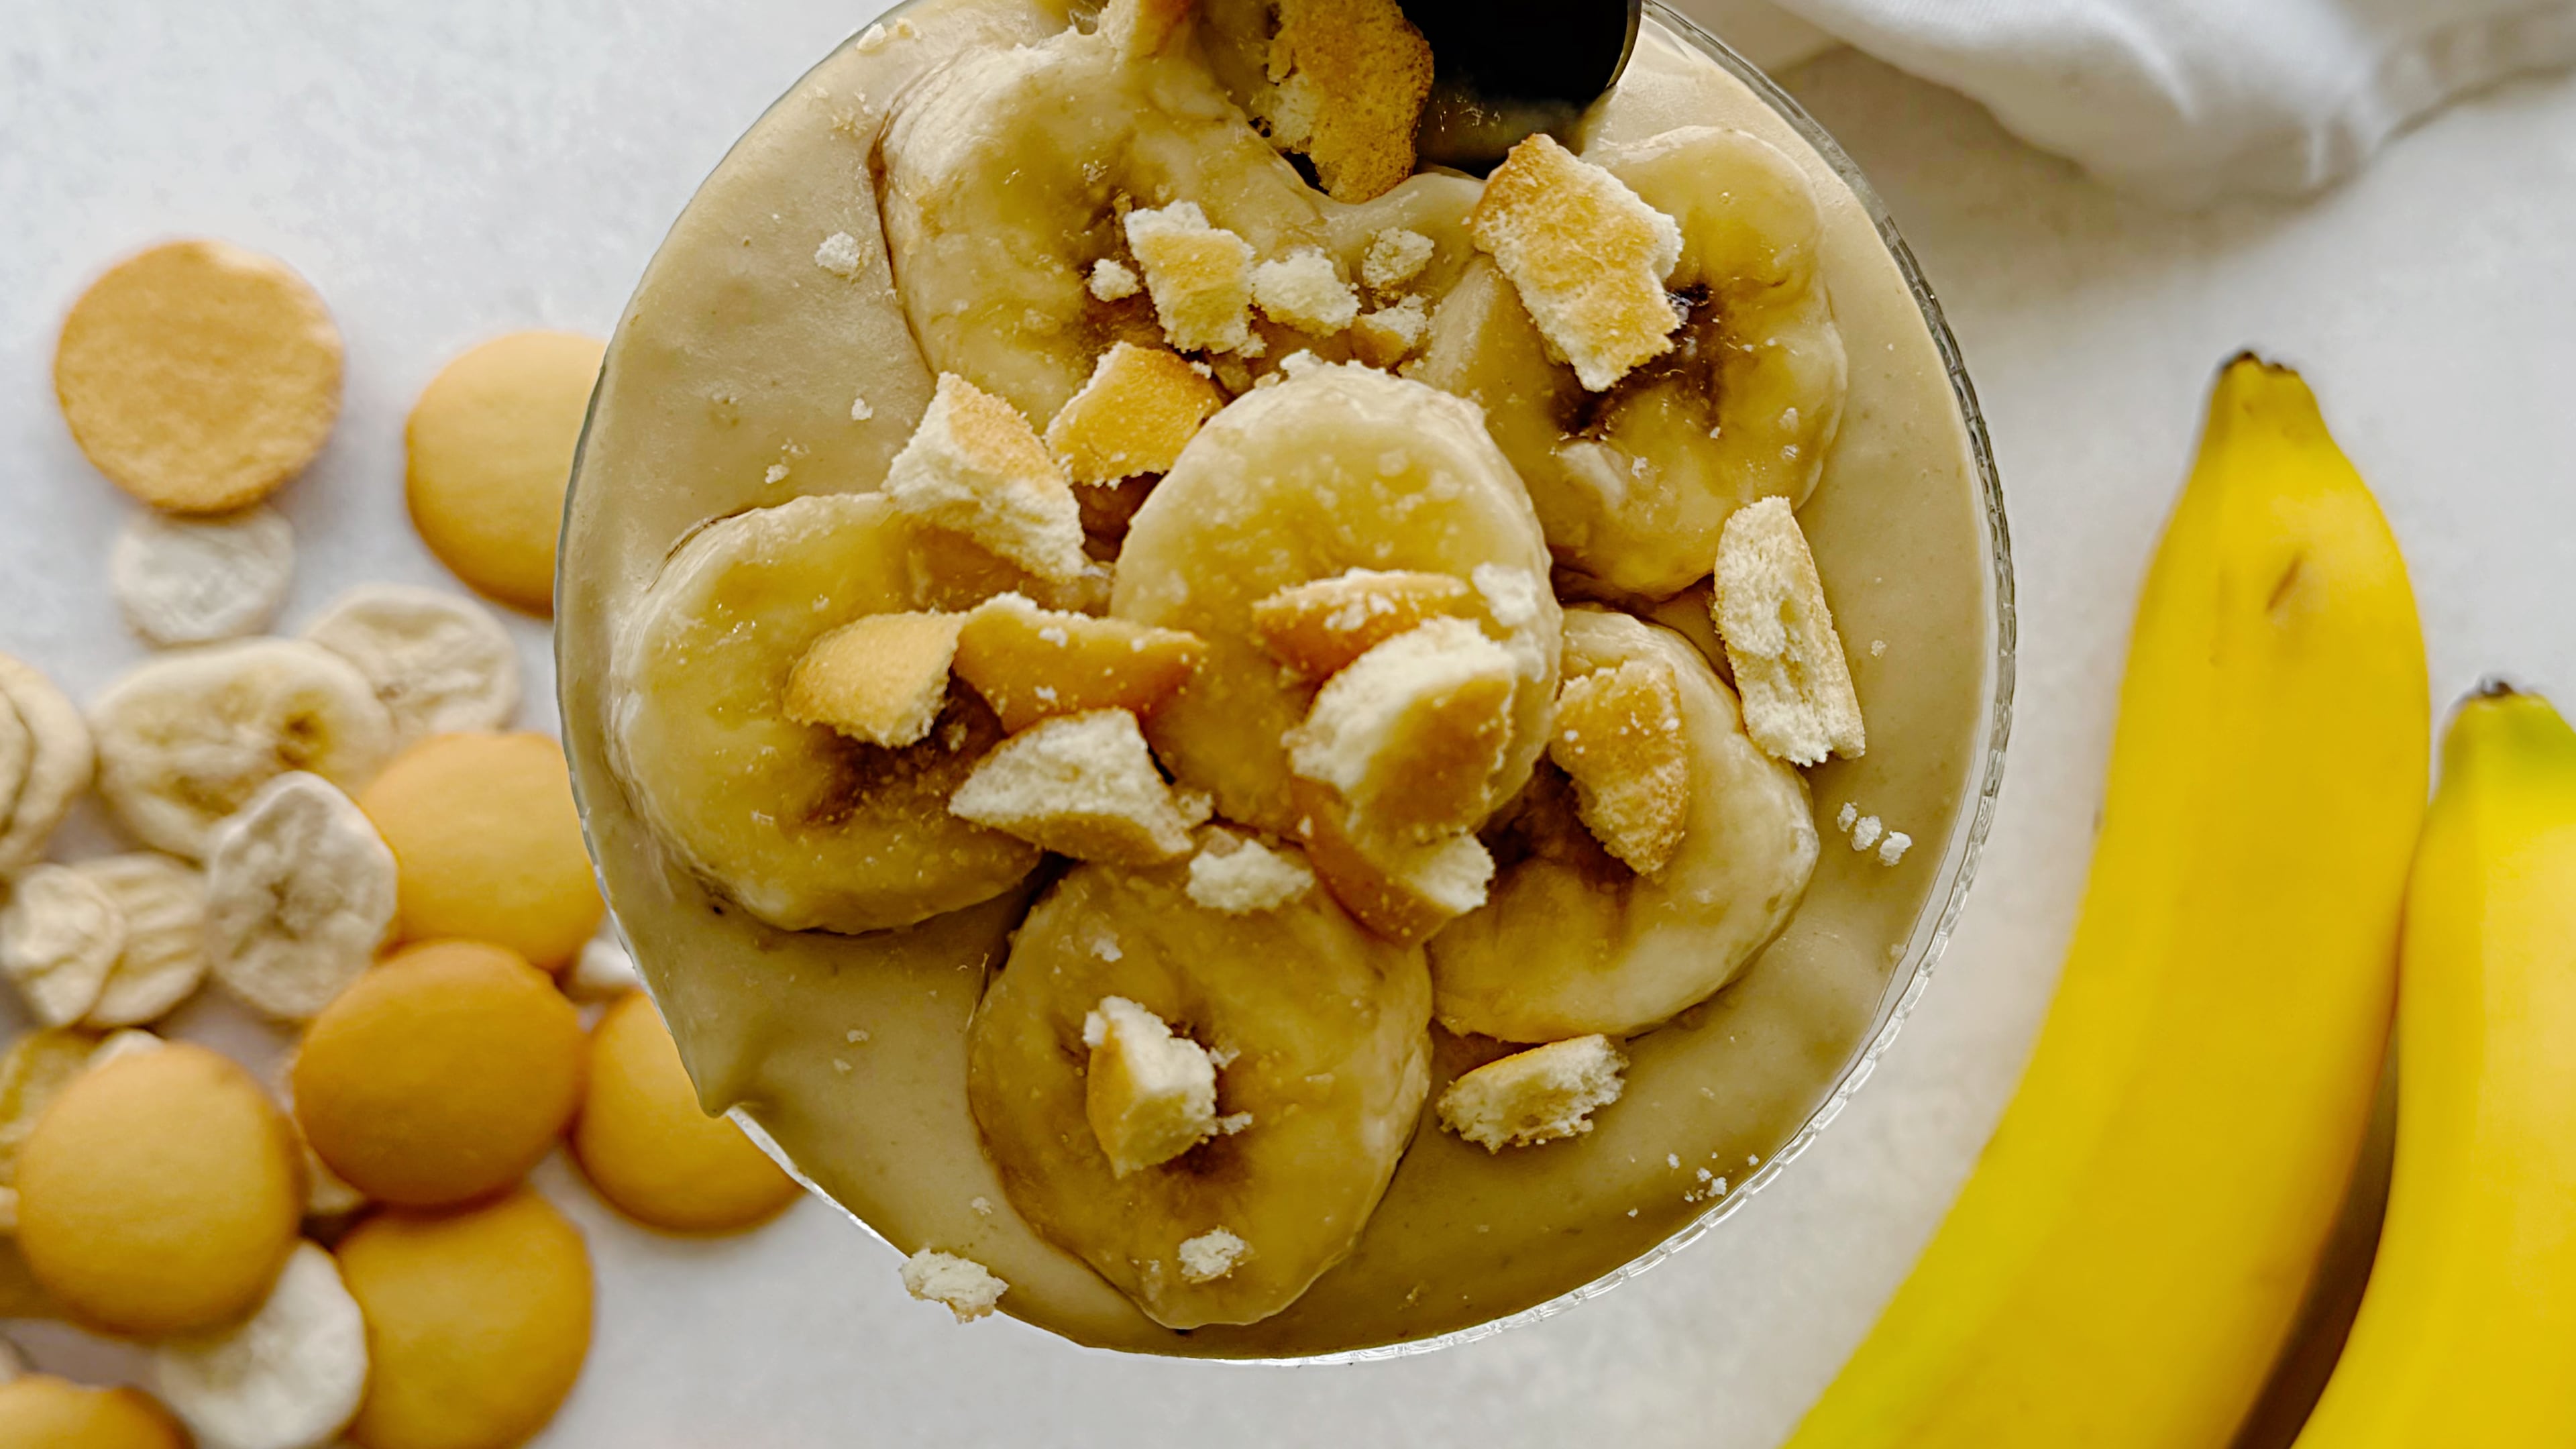

Most banana pudding is really vanilla pudding layered with bananas and wafers. Miss the banana slice, and you’re mostly tasting vanilla. I wanted banana in every bite. Freeze-dried bananas turned out to be the trick. Here are seven ways to make homemade banana pudding richer, creamier and much more flavorful.
How do you make banana pudding taste more like bananas?
Start with the pudding.
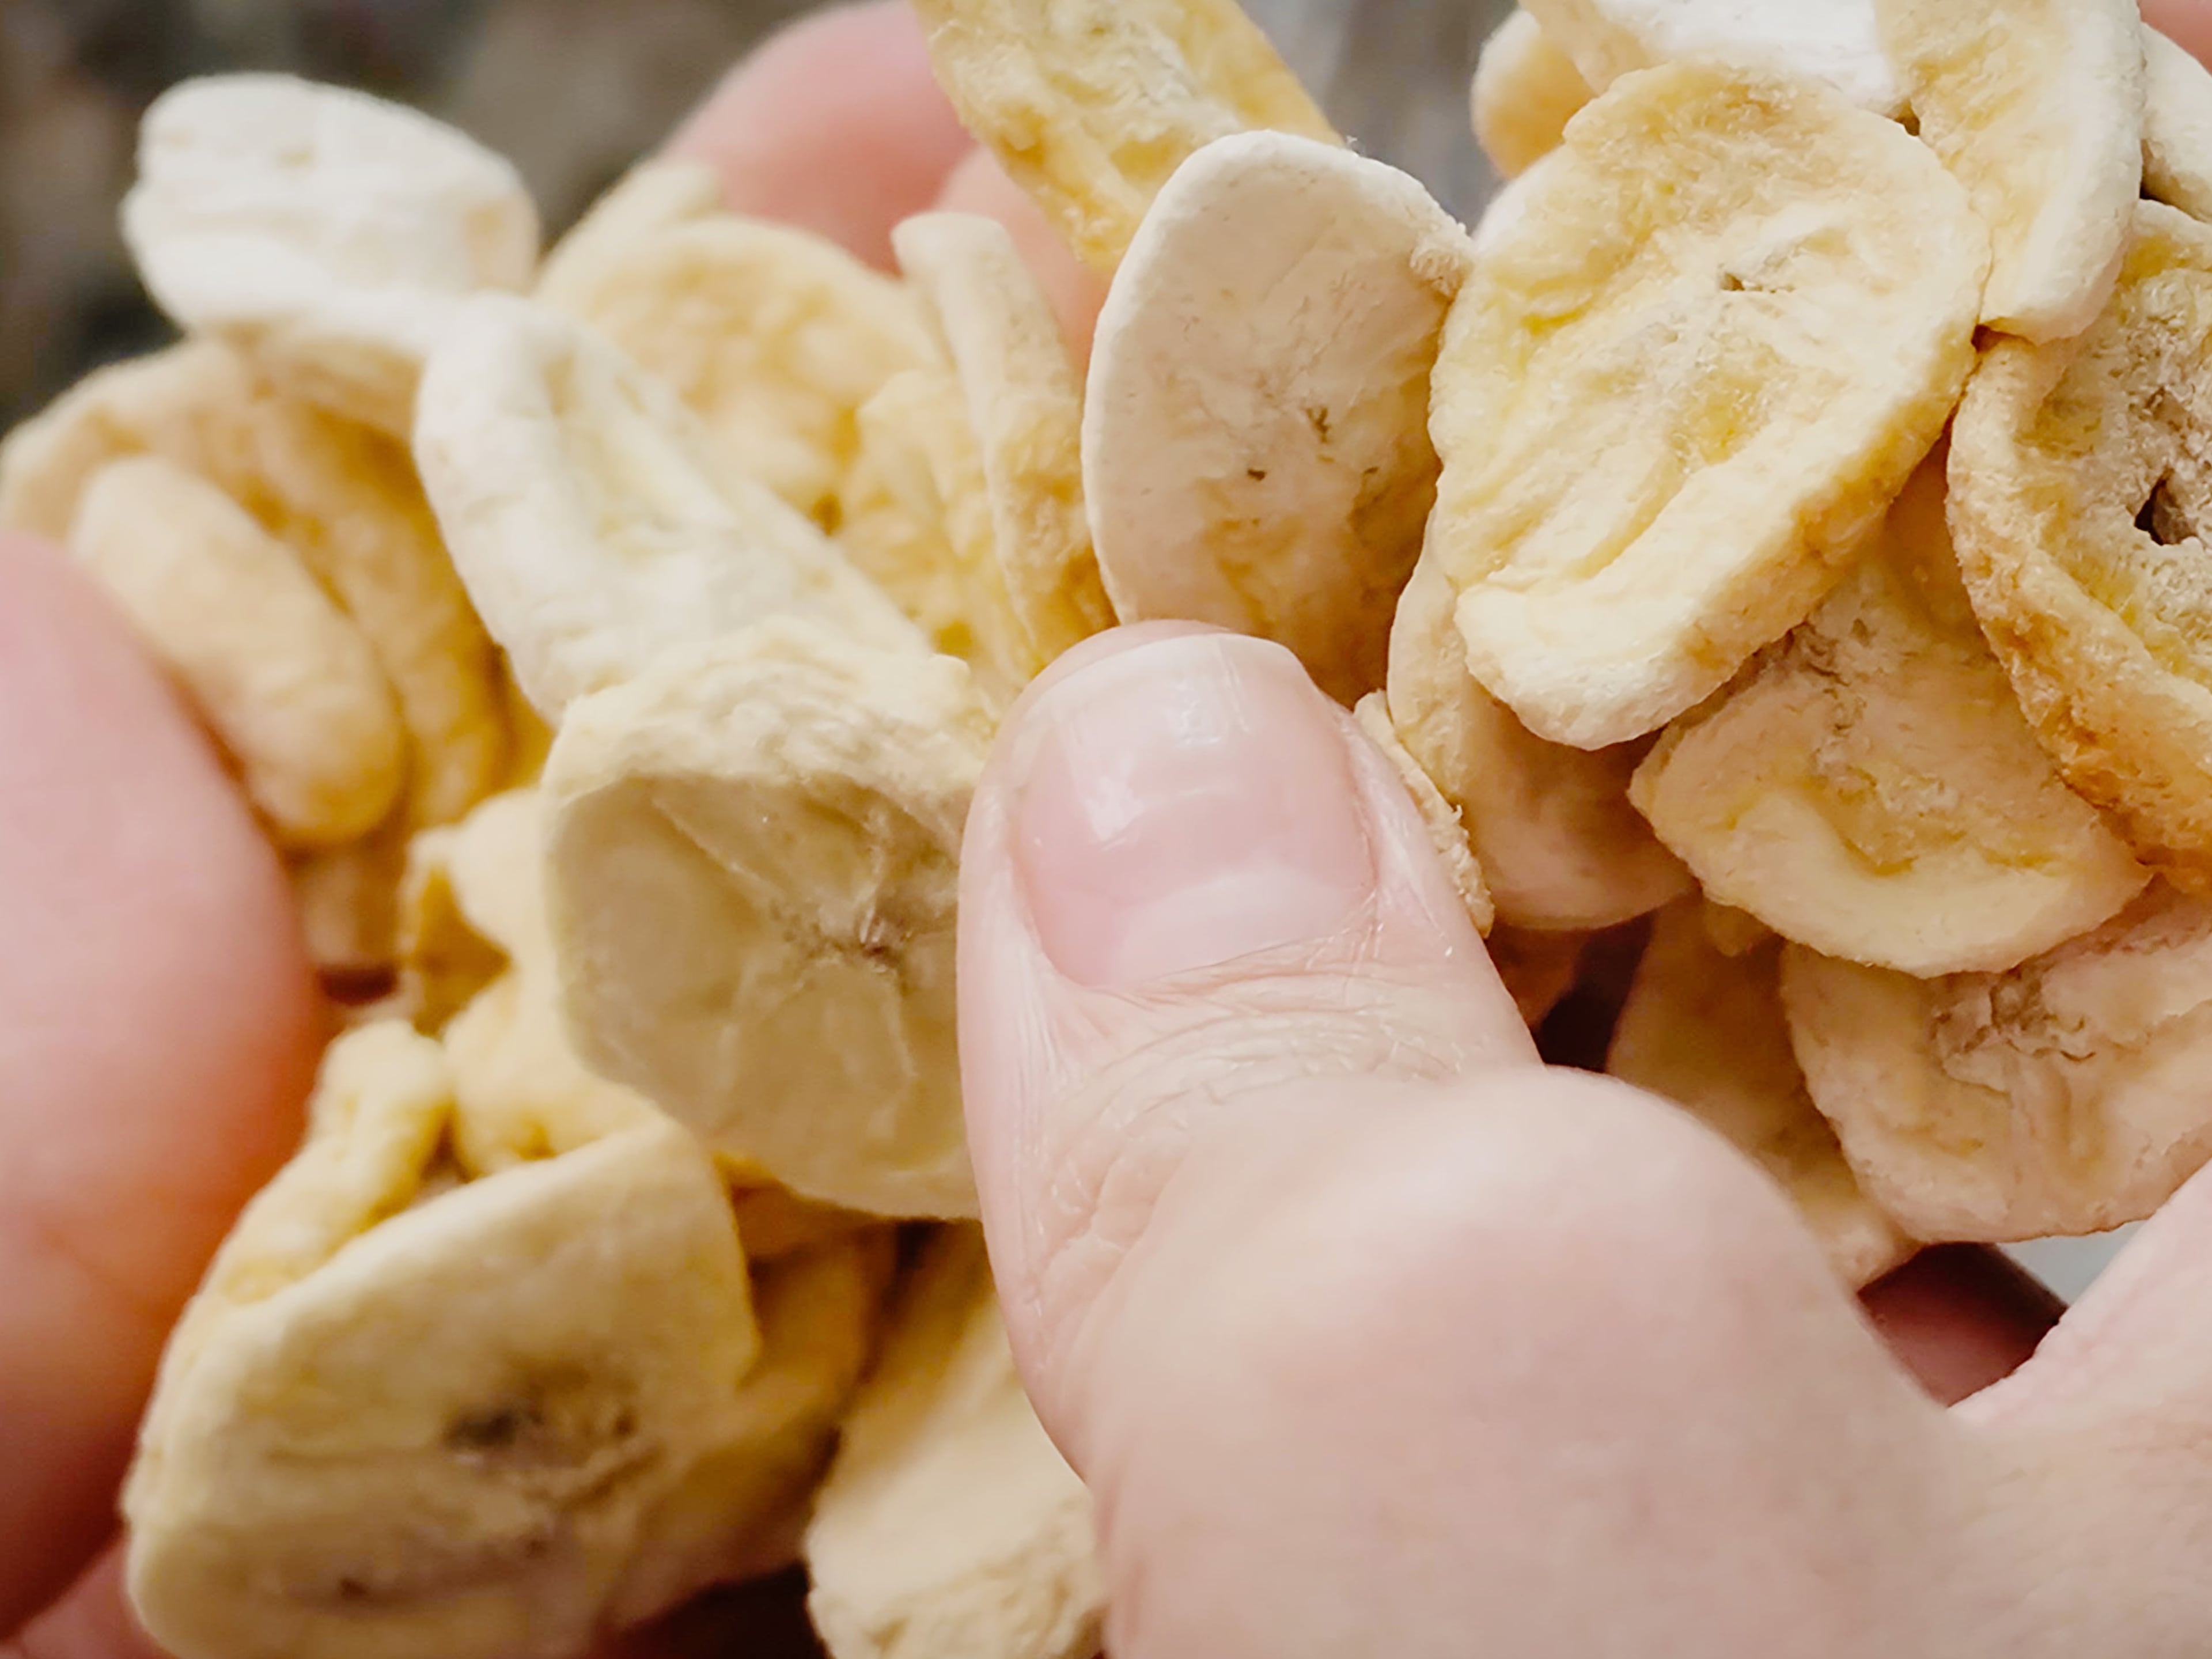
Freeze-dried bananas have had nearly all their water removed, concentrating the fruit’s flavor without adding much moisture to the custard. Steeping them in warm milk and cream pulls that banana flavor into the dairy before the pudding is even made.
Just don’t get the dairy too hot. Bananas get much of their distinctive aroma from compounds called esters, the molecules responsible for many of the fruity smells we recognize in food. Esters are volatile, meaning they easily escape into the air, and too much heat can send some of that banana aroma right out of the pot. Keep the dairy around 150-160 degrees, hot enough to help extract flavor but well below a simmer, and cover it while the bananas steep.
After steeping, blending the softened fruit into the dairy pulls out even more flavor; straining keeps the finished custard silky.
The payoff: Instead of waiting for your spoon to find a banana slice, the pudding itself tastes like banana.
How do you make banana pudding richer and creamier?
Fat is your friend.
Whole milk will make a perfectly good pudding, but replacing some of it with heavy cream gives the custard more body and a silkier mouthfeel. Fat is also a flavor carrier, helping all that banana and vanilla linger on your palate a little longer.
Egg yolks do double duty. Their fat adds richness, while their proteins help the custard set. Butter added at the end brings even more fat and gives the finished pudding a glossy, velvety texture.
What are the best bananas for banana pudding?
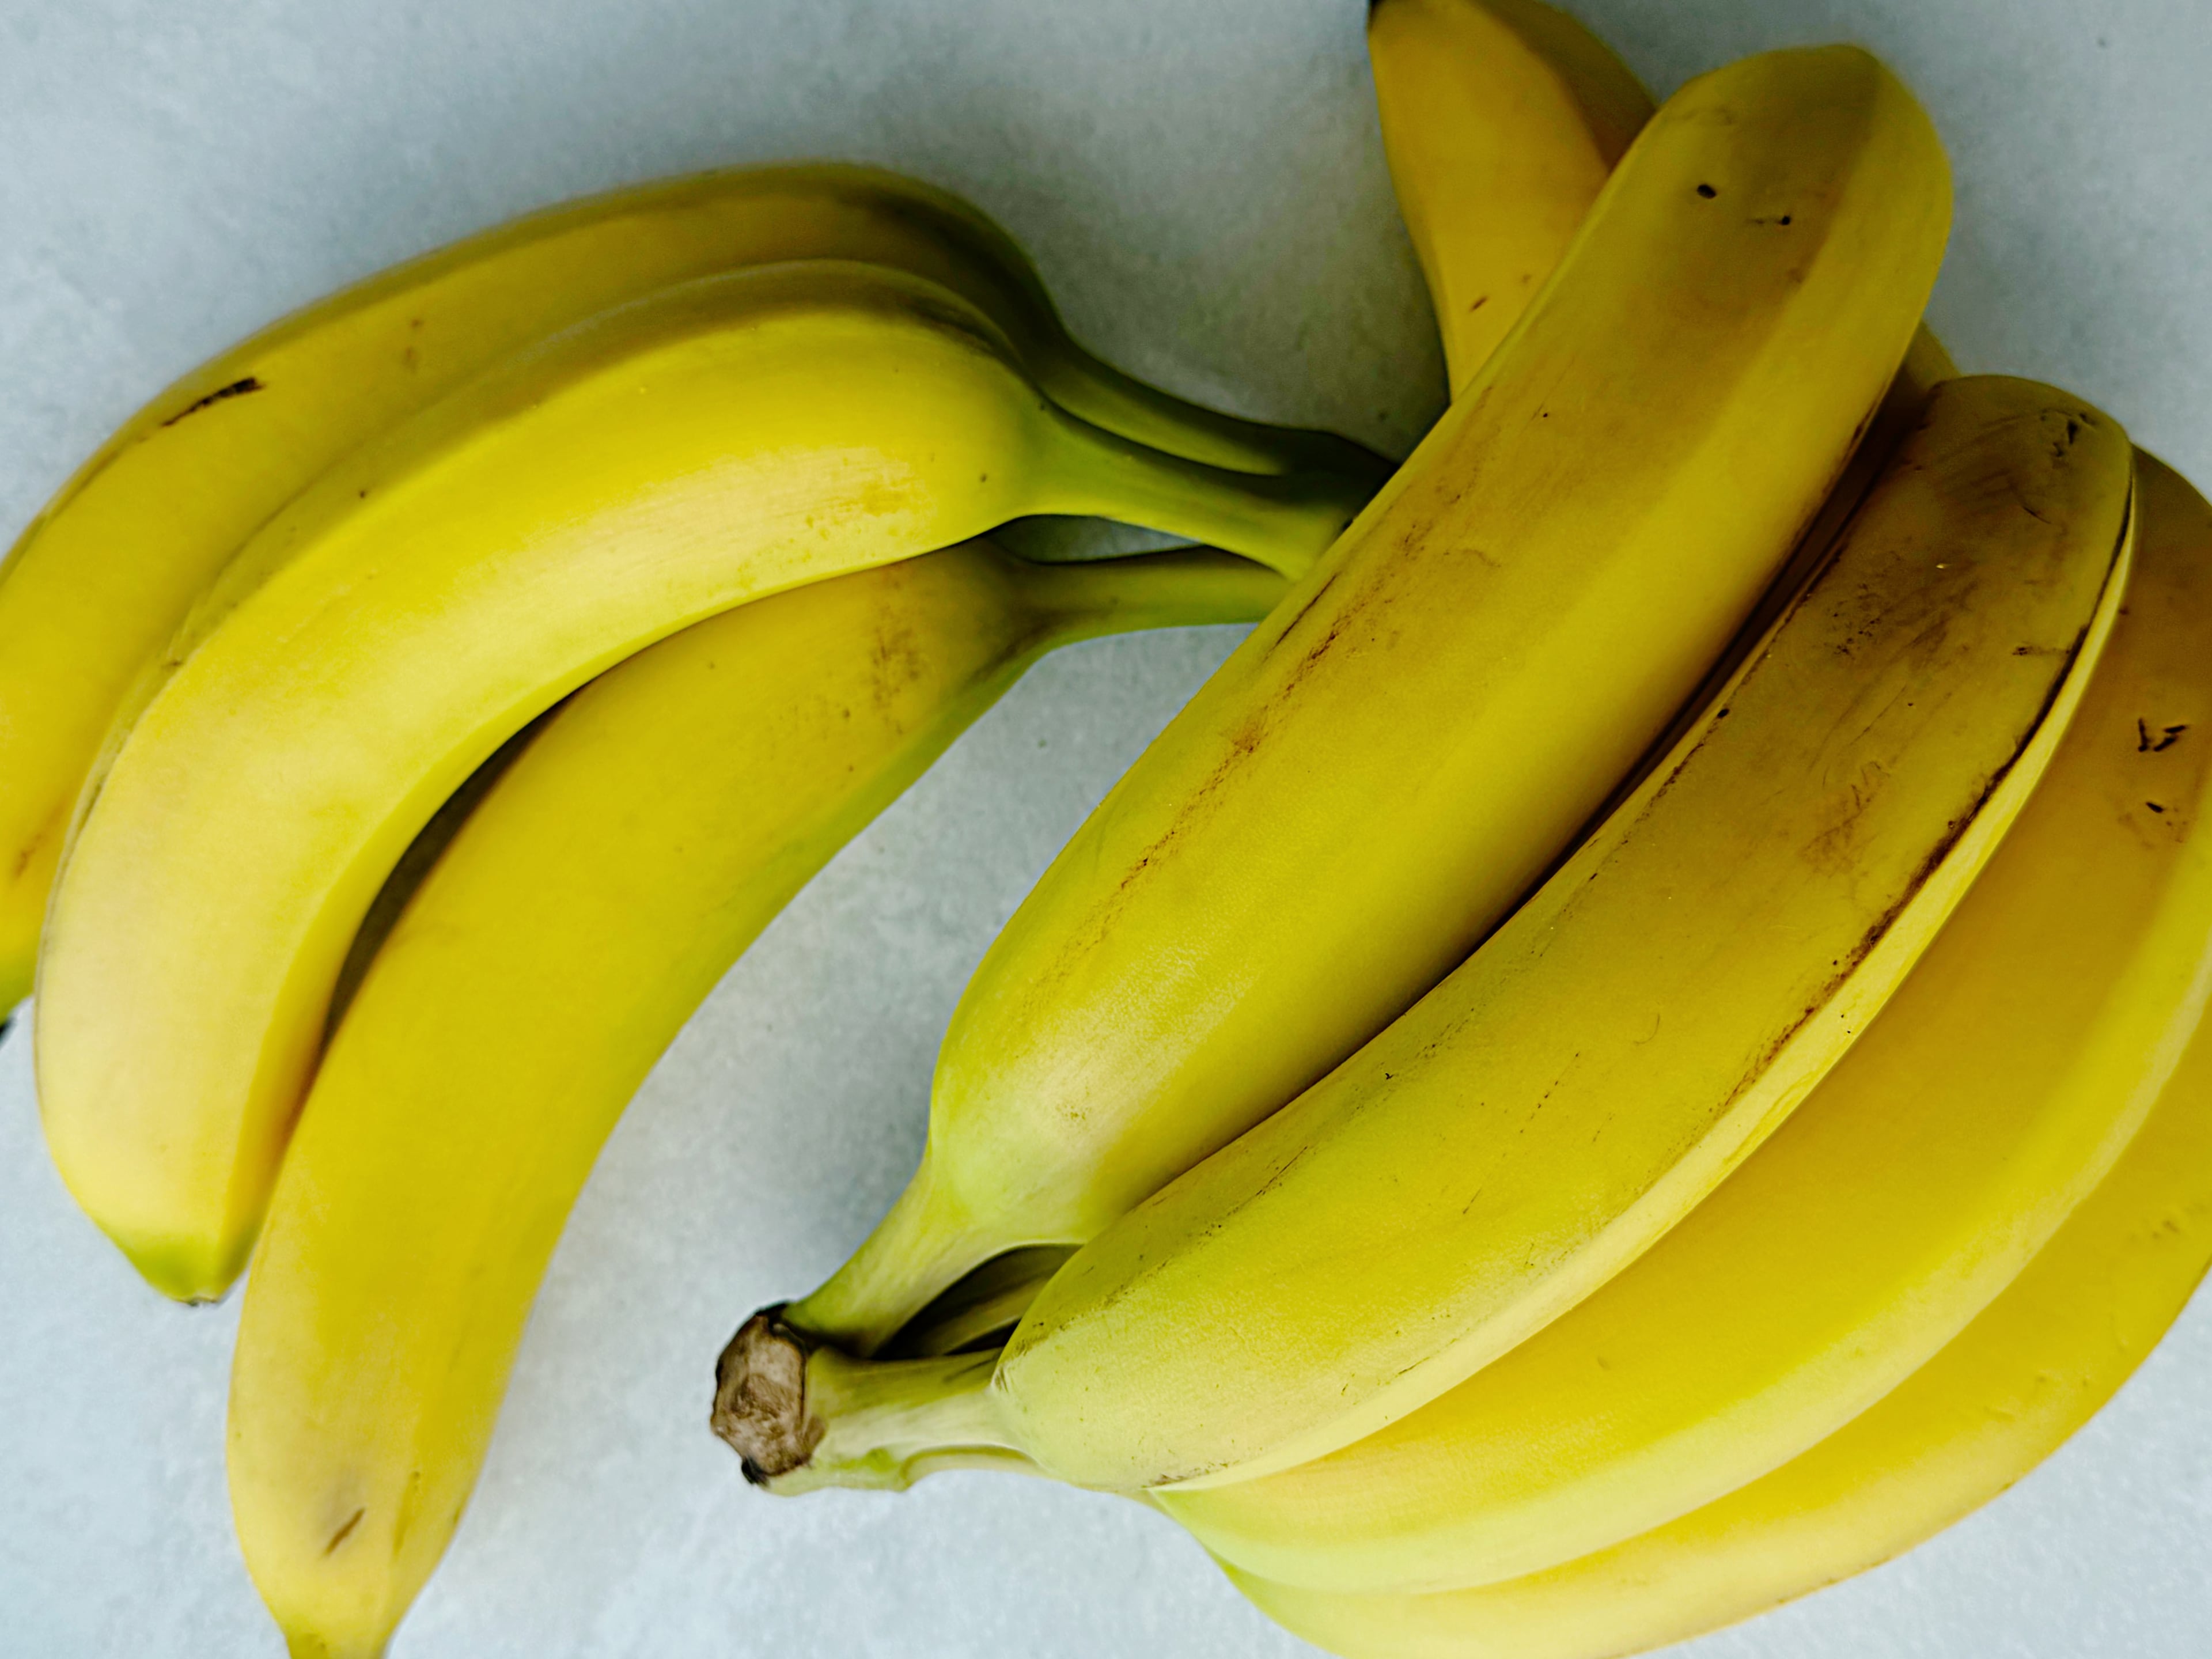
Ripe, but not banana-bread ripe.
As bananas ripen, enzymes convert their starches into sugars while their aroma becomes more pronounced. That’s why a yellow banana with some brown speckling tastes sweeter and more banana-y than a green one.
But ripening also softens the fruit. Go too far and those beautifully fragrant bananas can turn to mush once they’re sliced and surrounded by moist custard.
For banana pudding, the sweet spot is fruit that’s fragrant and sweet but still firm enough to hold a clean slice. Save the soft, heavily spotted ones for banana bread.
How do you keep bananas from turning brown in banana pudding?
If your bananas turn brown, blame oxygen.
Once you slice a banana, enzymes in the fruit react with oxygen and begin producing brown pigments. It’s called enzymatic browning, and it’s the same reason cut apples and avocados darken.
Acid slows that reaction. A quick toss with a small amount of lemon juice lowers the pH at the fruit’s surface and helps slow the enzymes responsible for browning. Don’t overdo it: You’re making banana pudding, not lemon-banana pudding.
Air matters, too. Keeping the banana slices buried between layers of pudding limits their exposure to oxygen and buys you even more time before they brown. Make sure to place plastic wrap directly on the surface of the pudding as it chills. You can top the pudding with additional freshly sliced bananas right before serving.
How long should banana pudding chill?
Banana pudding needs a few hours in the refrigerator because you’re waiting for two things to happen at once.
First, the custard needs to cool completely. As it cools, it becomes firmer and gives the finished dessert more structure.
Meanwhile, the vanilla wafers are pulling moisture from the custard. Give them enough time and they transform from crisp cookies into the tender, almost cakelike layers that make banana pudding banana pudding.
About four hours hits a nice middle ground: Enough time for everything to come together without letting the bananas and wafers become overly soft.
Are vanilla wafers supposed to get soft in banana pudding?
Absolutely. That’s the point.
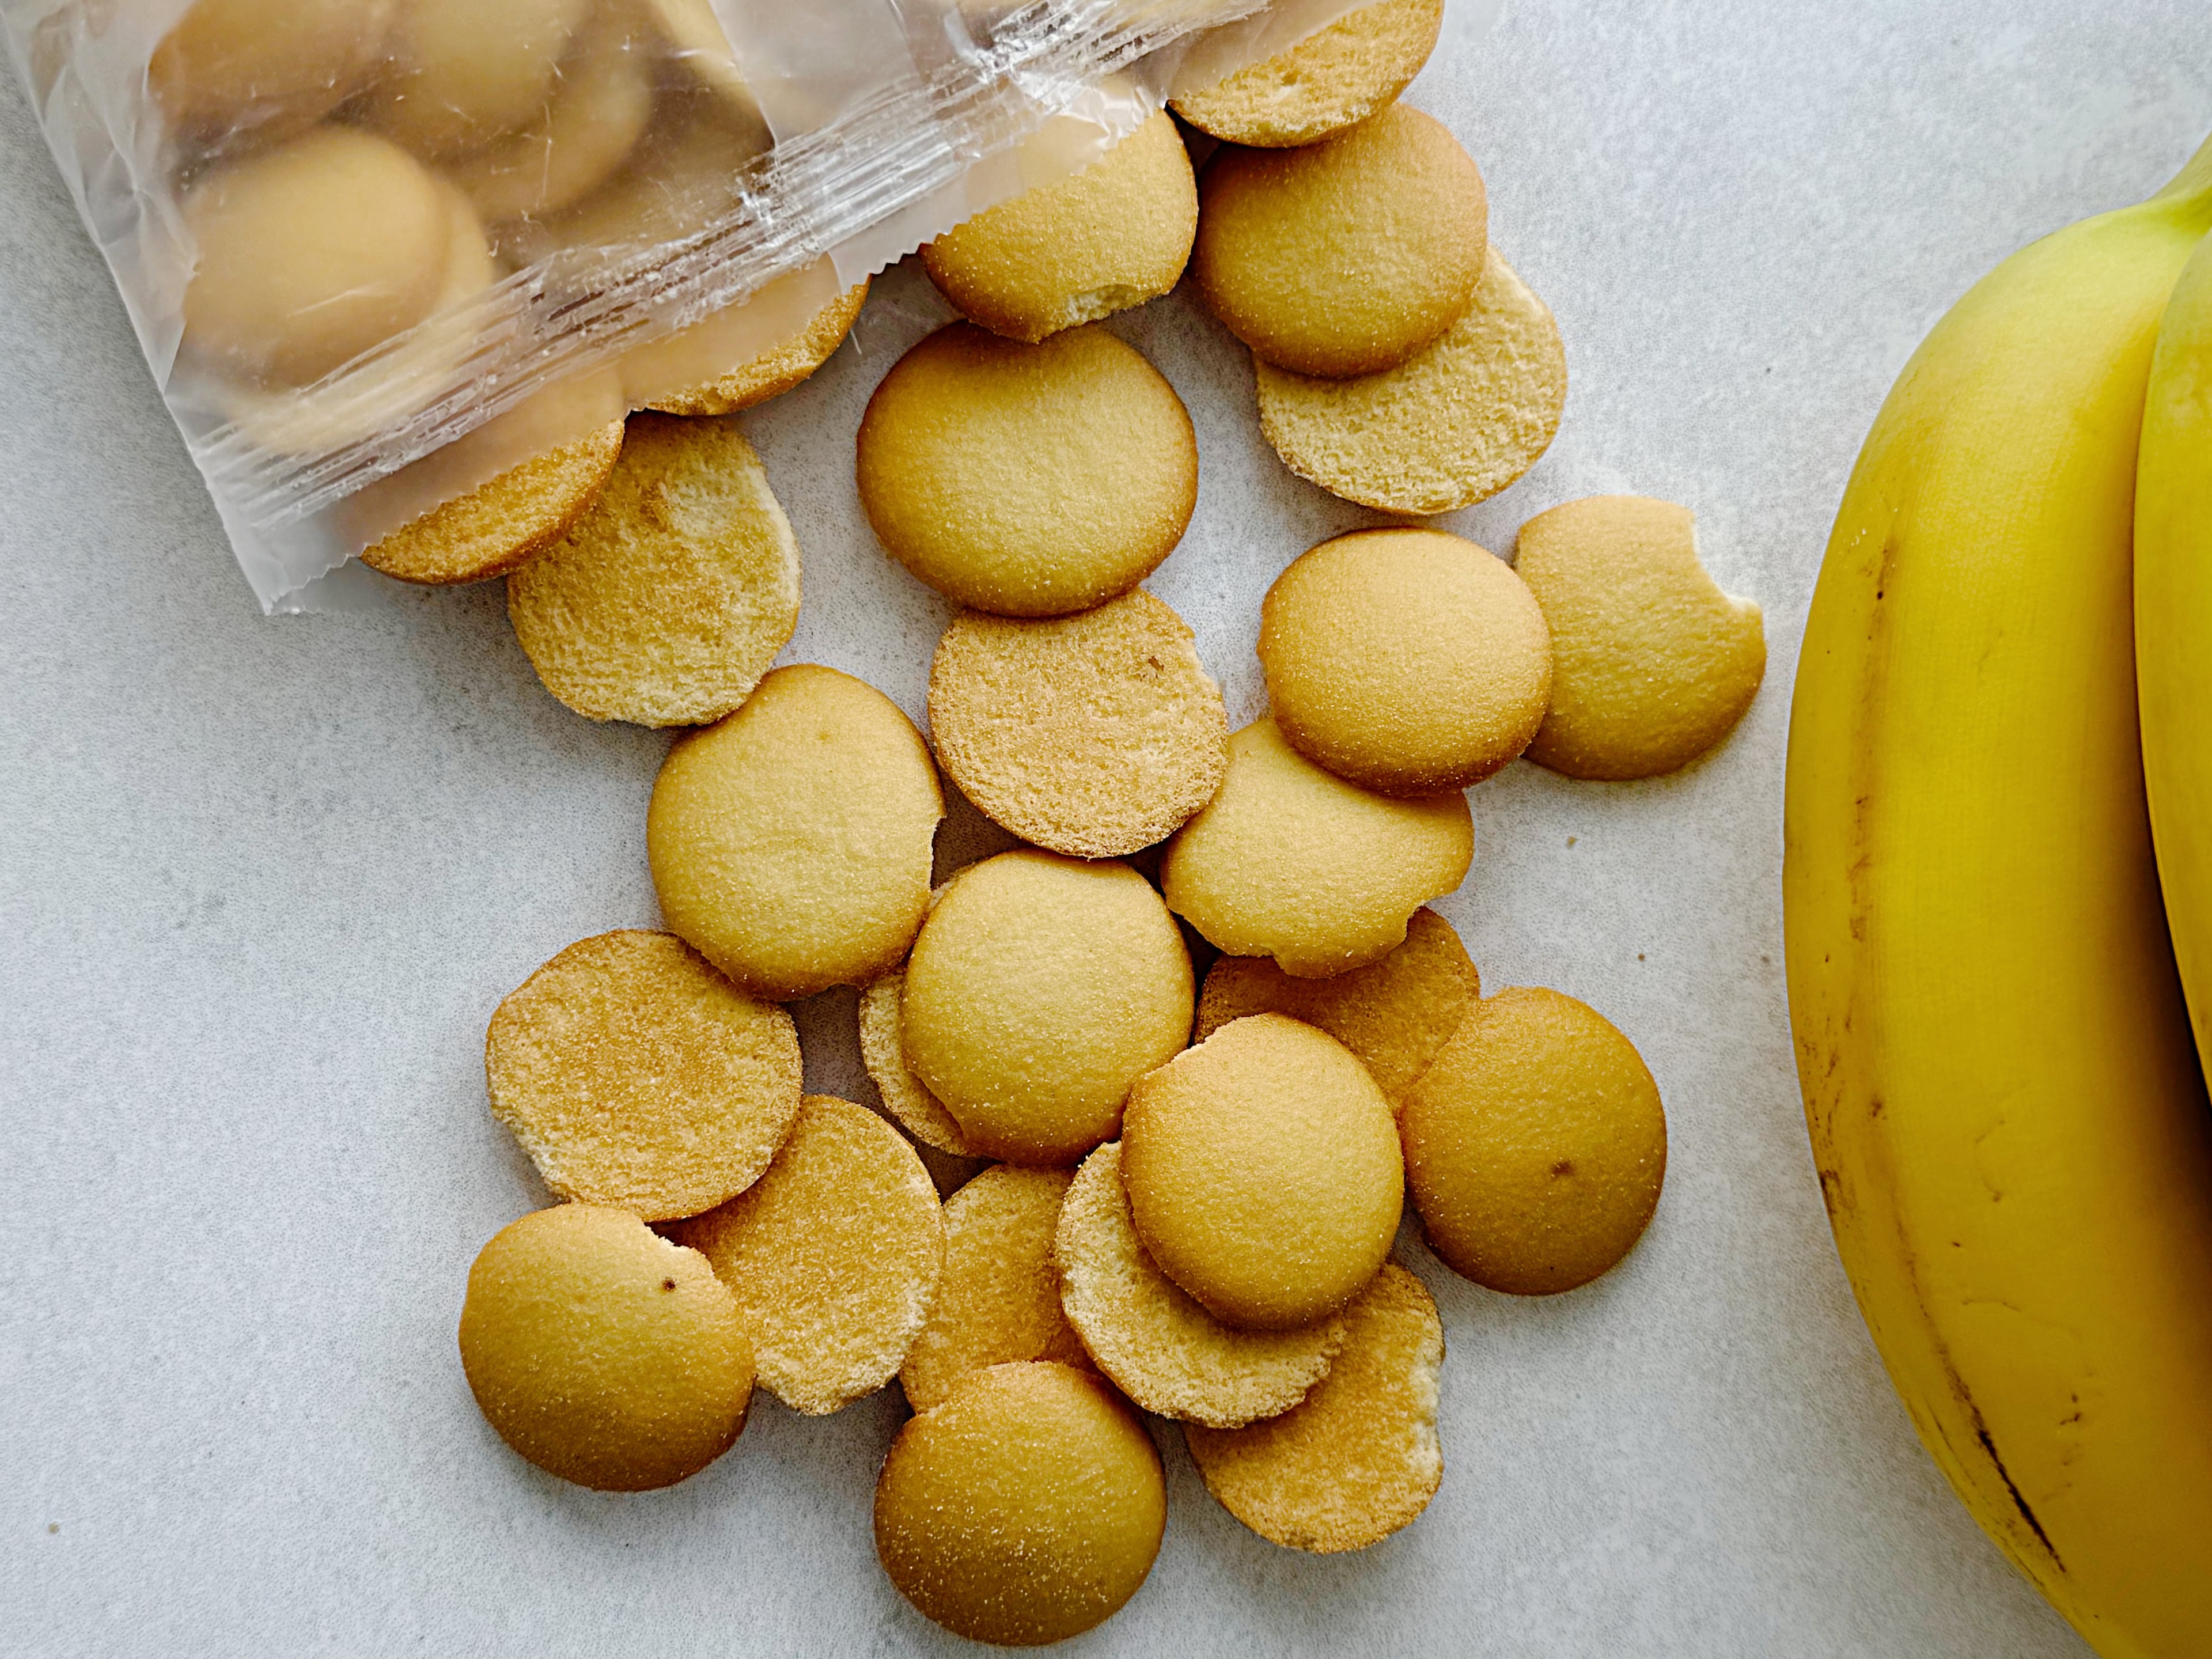
Vanilla wafers are dry and porous, so once they’re surrounded by pudding, they begin absorbing its moisture. As their starches hydrate, the crisp cookie softens and takes on an almost cakelike texture.
That’s why freshly assembled banana pudding doesn’t taste quite like banana pudding yet. It needs time for the custard and cookies to become something greater than the sum of their parts.
If you want a little crunch, save that for the top. Freshly crushed wafers added just before serving give you both textures in the same bowl.
Why is my banana pudding runny?
Cornstarch needs heat to work.
When cornstarch is heated in liquid, its starch granules absorb water, swell and eventually release starch molecules that thicken the surrounding liquid. This process is called gelatinization.
If the custard doesn’t get hot enough, that thickening never fully develops. That’s why bringing a cornstarch pudding to a boil matters.
But more cooking isn’t always better. Once the starch has done its job, prolonged aggressive cooking can work against you, especially in a custard that also contains eggs.
And remember: hot pudding isn’t finished pudding. It will become noticeably thicker as it cools and sets, so don’t judge the final texture while it’s still steaming.
From-Scratch Banana Pudding
1½ cups freeze-dried bananas
1 teaspoon fresh lemon juice, divided
2 cups whole milk, plus approximately 1½ cups more as needed
1 cup heavy cream
⅓ cup granulated sugar
2 tablespoons cornstarch
⅛ teaspoon kosher salt
4 large egg yolks
4 tablespoons unsalted butter
4 ripe but firm bananas
11 ounces vanilla wafers (about 45 wafers)
Make the Banana Dairy
— Place the freeze-dried bananas in a bowl and toss with ½ teaspoon lemon juice.
— Combine 2 cups whole milk and 1 cup heavy cream in a saucepan and heat until steaming but not boiling.
— Remove from the heat. Add the freeze-dried bananas, cover and let steep for 20 minutes.
— Use a stick blender or transfer the bananas and dairy to a blender and blend until completely smooth.
— Measure the banana puree. You should have approximately 2½ cups.
— Add enough additional whole milk to bring the banana-dairy mixture back to 3 cups total. Based on testing, this should require approximately ½ cup additional milk, but measure the final mixture rather than relying on that amount.
Make the Pudding
— In a medium saucepan, whisk together the sugar, cornstarch and salt.
— Gradually whisk in the 3 cups banana-dairy mixture until smooth.
— Cook over medium heat, whisking frequently, until hot and beginning to thicken.
— Meanwhile, whisk the 4 egg yolks in a medium bowl.
— Slowly whisk about 1 cup of the hot banana mixture into the yolks to temper them. Do this a few tablespoons at a time so the yolks don’t cook and become scrambled eggs. Pour the tempered yolk mixture back into the saucepan.
— Continue cooking over medium heat, whisking constantly, until the pudding thickens and bubbles begin breaking the surface.
— Once bubbling, cook for 1 minute, whisking constantly.
— Remove from the heat and whisk in the 4 tablespoons butter until completely melted and incorporated.
Prepare the Fresh Bananas
— Just before assembling, peel and slice the 4 fresh bananas into ¼-inch rounds.
— Gently toss the banana slices with the remaining ½ teaspoon lemon juice. This helps slow browning without adding enough acid to noticeably flavor the pudding.
Assemble
— Arrange in 8 individual serving cups or in an 8 x 8 casserole dish. Start with one layer of vanilla wafers in the bottom of the serving dish.
— Top with one-half of the sliced bananas, followed by one-half of the warm pudding.
— Repeat with the remaining wafers, bananas and pudding, finishing with pudding on top.
— Cover with plastic wrap or parchment pressed directly onto the surface of the pudding and refrigerate for at least 4 hours, allowing the wafers to soften and the banana flavor to develop.
Makes about 8 servings.